Bound Galley Checklists
In your Main Media Data, if your system has the Bound Galley module installed, you have
the option of marking contacts as being high priority bound galley recipients (i.e. those
who should always be considered to receive bound galley copies of your books).
A Bound Galley Checklist cross-references your current project with the Main Media Data
contacts designated as bound galley recipients. It creates simple checklist which allows
you to see which of your project’s contacts are also bound galley contacts, and which
bound galley contacts have been omitted from your list.
To create a Bound Galley Checklist, follow these simple steps:
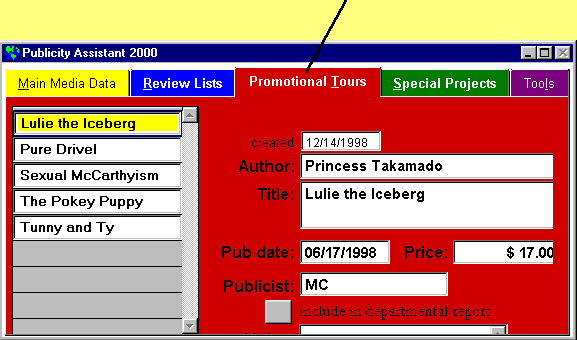
- Select the Main Media Data tab on the main Publicity Assistant 2000 screen.
- Press the Search button on the toolbar.
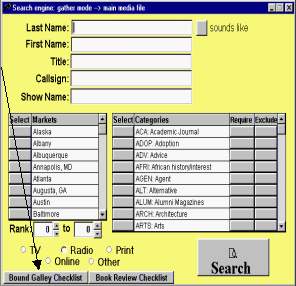
The search screen will now appear.
- In the search screen, press the Bound Galley Checklist button in the bottom left
corner.
You will now wait a brief moment while Publicity Assistant 2000 finds which are
designated as bound galley recipients.
Upon completion of the search, Publicity Assistant 2000 will return to the main screen.
You will notice that the search button in the toolbar is now highlighted in red,
indicating that you are viewing the results of your search in the main window. The results
of your search are your bound galley recipients.
Notice that the search button is highlighted Red.
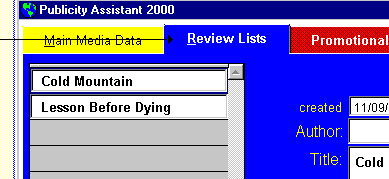
- Select the Review Lists tab on the main screen.
- Now click once on the Review List for which you want the bound galley checklist. In our
example, we clicked once on “Tundra and Taiga”.
Tip: You do not need to open the list. Simply select it by single clicking on
it. You can confirm your selection by viewing the information screen.
|


|
- Press the Output Button on the toolbar. This will open the Output Options window.

- In the Output Options window, select either Check List or Check List
w/Notes, depending on whether or not you would like your notes to appear.
To make your selection, you may either double click on your choice, or drag it onto the
light blue background screen.
Once you make your selection, Publicity Assistant 2000 will generate a list of all
bound galley reviewers, and place a check mark next to those which already appear in your
list.
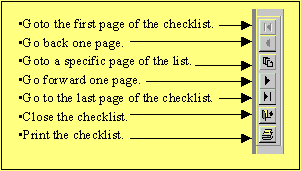
- You can now use the report toolbar to manipulate your checklist. The following diagram
describes the function of each item on the toolbar. For example, to print your checklist,
you simply press the printer icon.

Some tips:
" The page number appears at the top of the window containing the checklist.
" To determine how many pages are in the checklist, press the “go to last
page” button on the toolbar, as show above, and view the page number at the top of
the window.
" Notice that on the last page of the checklist, all the contacts from your Review
List which are not traditional bound galley recipients appear under the category
“Additional Requests.” |